Zen walkthrough
This page shows how to use Zen, following the real use case in the Walkthrough of Zwin.
System Requirement
To use Zen, you only need a PC running Ubuntu or Arch Linux, and a Meta Quest 2 or Pro headset, along with a cable to connect them. The PC doesn't have to be gaming PCs; just a regular laptop is enough.

Using Zen in 2D screen
If you are using Arch Linux, please execute following command beforehand.
$ echo "/usr/local/lib64" | sudo tee /etc/ld.so.conf.d/local-lib64.conf
$ sudo ldconfig
To begin with, stop the existing Ubuntu windowing system session with the following command.
Caution: Once you execute the following command, this page on Ubuntu gets closed. Continue the walkthrough by switching to other devices such as smartphone.
$ sudo systemctl restart gdm
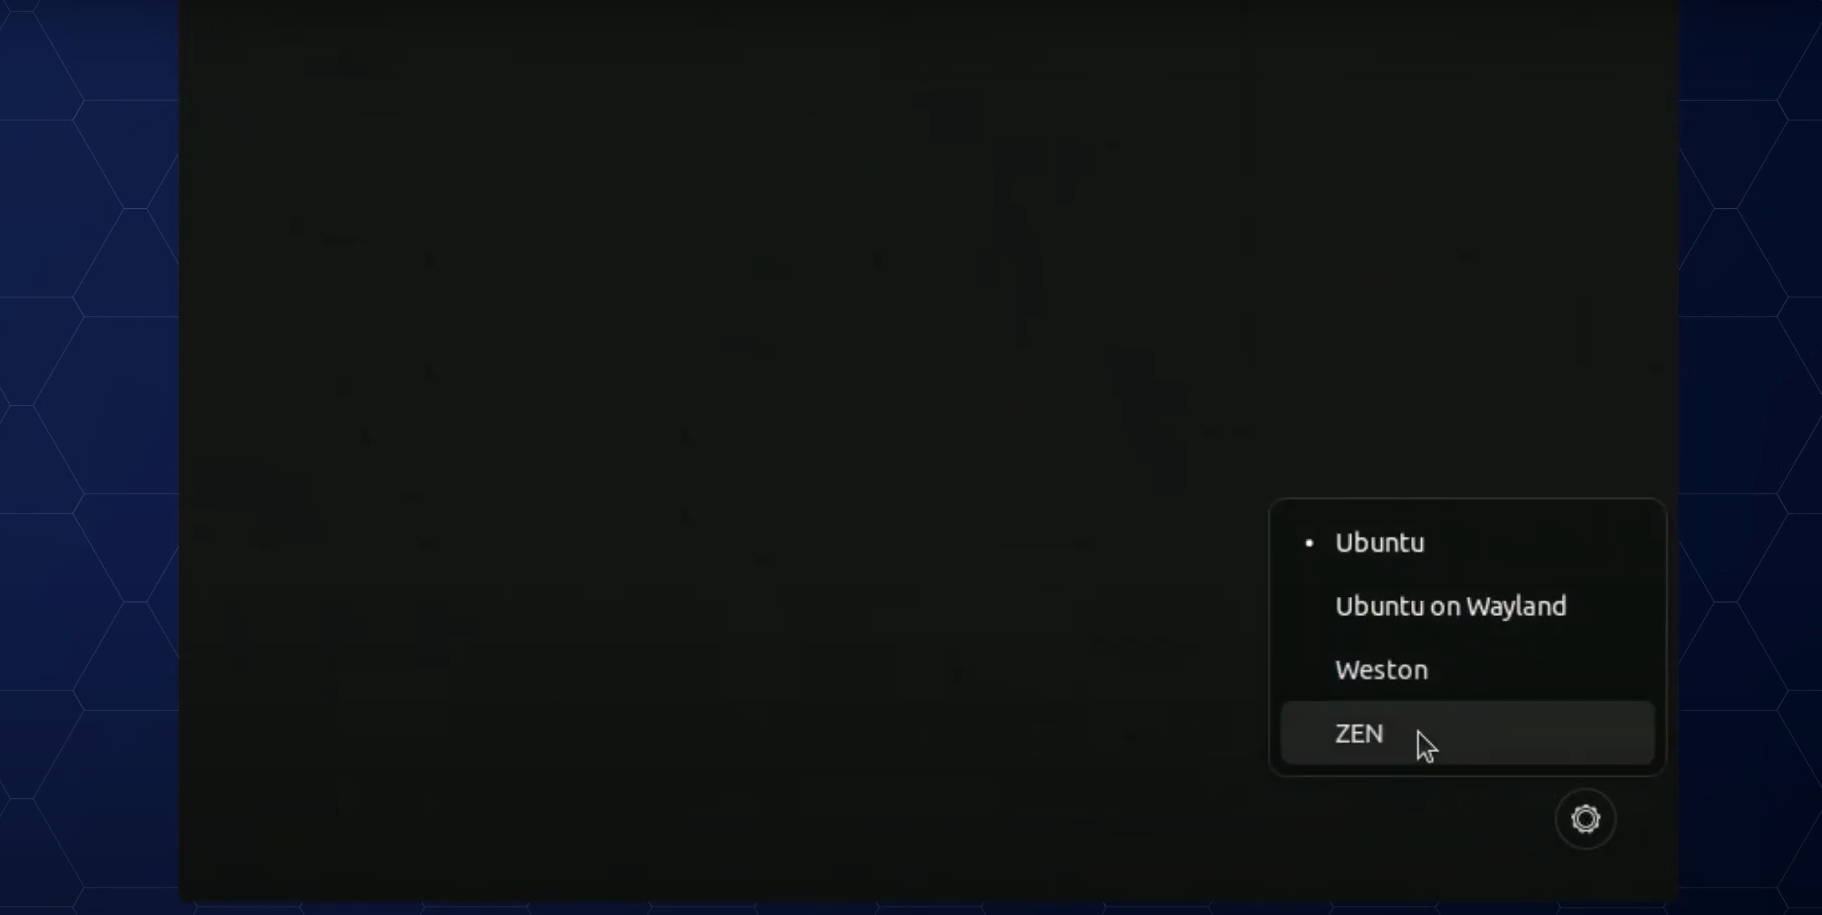
In Ubuntu, in the login screen shown after that, you can choose the Windowing system to use. Click "ZEN" and login, then you can launch 2D Zen.


In 2D Zen, you can use regular Linux apps as-is, such as Google Chrome and terminal.
Caution: The default file explorer of Ubuntu (Nautilus) takes a very long time to open (~5 min) in current environment. Wait patiently!

Switching to VR
If you click "VR" button in the bottom-right corner of the screen, you can see the list of available VR headsets.

To use Zen in VR, follow the steps below to open Zen Mirror on Quest connected to the PC.
-
Connect the PC and Quest with the cable.
- "Allow connected device to access files?" dialog appears in Quest, so don't forget to allow.
-
Run the following command to get Quest recognized by Zen.
$ adb forward tcp:50051 tcp:50051
When this command worked correctly, 50051 is displayed on your terminal. If not, please refer to Install Zen Mirror and check again that ADB recognize your Meta Quest.
- Open the app library in Quest, select "Unknown Sources" from the dropdown on the top-rigtht corner.
- Launch Zen Mirror from the list.

After completing these steps, Zen recognizes the headset, and it is added to the list of available headsets.

By clicking on the "Connect" button on the right, you can start using Zen in VR mode using a headset. In this case, the IP address and headset may also be displayed together, which represents a wireless connection. In the beta version of Zwin, wired connections are recommended over wireless.
Interactions in VR
In VR, the windows you were using in 2D are displayed as-is.

You use Ray to interact with the VR world. Ray works as a cursor. If you move the mouse, Ray follows that movement.

With a configuration file, you can add app launchers in the screen. By clicking the launcher icons in Dock below, you can open windows in Board. By dragging & dropping the windows, you can move windows to another Board. Board itself can be moved by dragging the empty area of the Board.
3D Windows
If you use the default configuration file generated by the install script, the launcher icon for nautilus file explorer is shown in the Dock.
After setup Open STL File in Zen Object Viewer, if you open the file explorer from the icon and double-click a stl file, the file is opened in our 3D app, "Zen Object Viewer". It shows 3D model in thr VR world.

(Some STL files can't be opened with Zen Object Viewer. See the asset folder of Zen Object Viewer for sample stl files that were confirmed working properly.)
If you point Ray to the 3D model and scroll, the models rotate. The model works as a 3D window, so you can also move it by dragging the app name plate shown below the app.
Coming back to 2D screen
If you start to feel tired while using VR, you can put off the headset and come back to the 2D mode. There is a keyboard shortcut (Meta + V) to exit VR mode.
You can access the Boards you used in VR with the switcher in the bottom of the screen. The windows on the Boards are preservered even after you exit the VR mode.